SharePoint 2010 - Advanced
How to use the List View Web Part
List view
The List Web Part allows you to view SharePoint 2010 tabular data on your web page.
- Navigate to the page where you would like a List Web Part to appear.
- Select Edit Page under the Site Actions menu.
- To insert a web part, choose Add a Web Part from one of the web part zones on the page, or place your cursor in a content area.

- Select the Insert tab in the ribbon, select the Web Part button.

- The web part gallery will open underneath the ribbon. The web part gallery shows the categories, web parts, and a description of the selected web part.
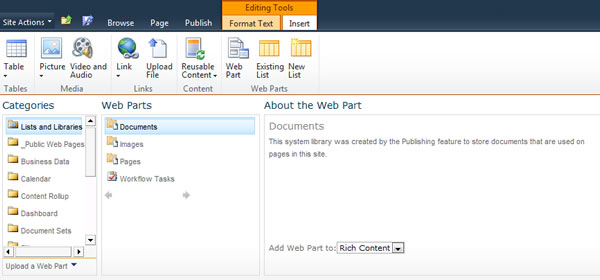
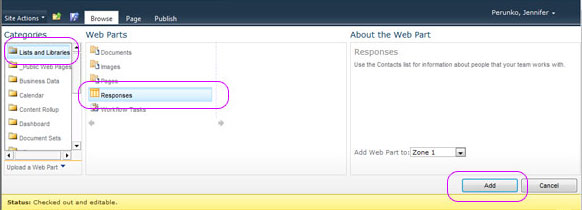
- To add the List, select the Lists and Libraries category and the name of your list. Click Add.
- The list should now appear on your page. Use the web part Edit menu to edit the dimensions and title of the web part. Hover your mouse over the title of the List Web Part. Select the drop down arrow to the right side of this title. Choose Edit Web Part.
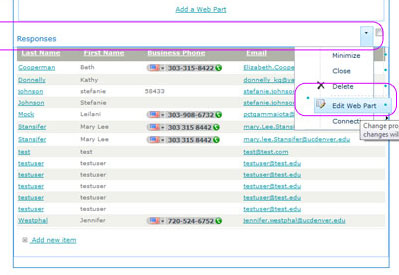
- The ribbon will change to reflect that you are now editing the web part.
- In the Edit Web Part window located in the upper right of your screen, you can choose the view and toolbar type used to display your list. Experiment with these options. See the Lists help section for help with making views.
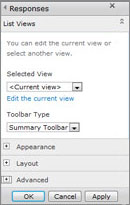
- Select OK to apply changes.
- When you are done making adjustments, Check In, Save and Close, or Publish your page.