SharePoint 2010 - Advanced
How to use the form web part
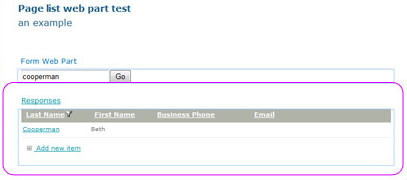
The Form Web Part allows you to attach a search box to a List Web Part. Make sure you have a List Web Part on your page before adding a Form Web Part.
- Navigate to the page where you would like a Form Web Part to appear.
- Select Edit Page under the Site Actions menu.
- To insert a web part, choose Add a Web Part from one of the web part zones on the page, or place your cursor in a content area.

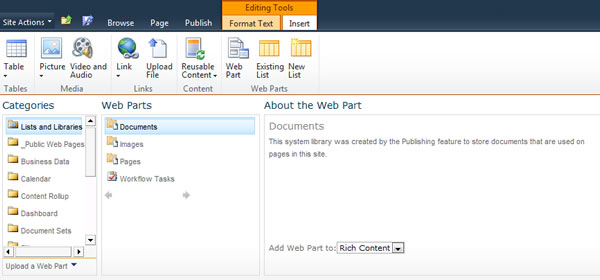
- Select the Insert tab in the ribbon, select the Web Part button.

- The web part gallery will open underneath the ribbon. The web part gallery shows the categories, web parts, and a description of the selected web part.
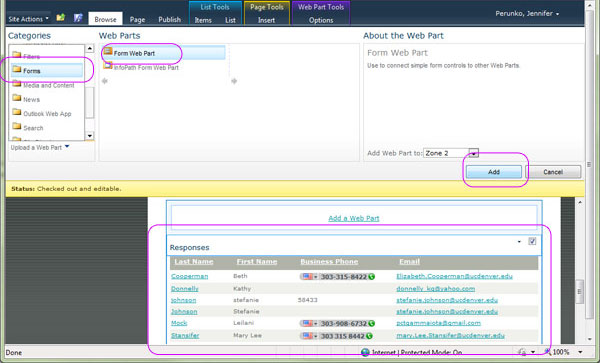
- To add the Form Web Part, select the Forms category and the Form Web Part. Click Add.
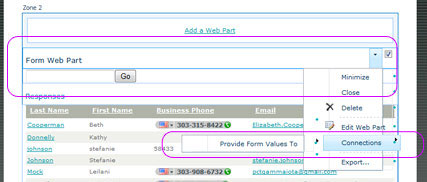
- The Form Web Part will be placed on your page. Hover your mouse over the title of the Form Web Part. Select the drop down arrow to the right side of this title. Choose Connections, Provide Form Values To, and the name of your list.
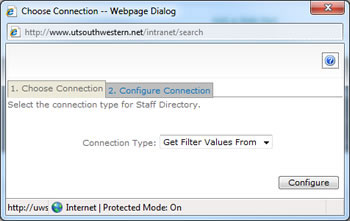
- A dialog box will appear with two tabs.
- Choose Connection tab will state Select the Connection Type for your List. Keep the default Connection type: Get Filter Values From. Now, select the second tab, Configure Connection.
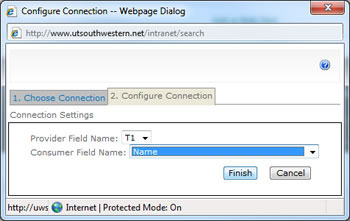
- Configure Connection tab will show two fields. Provider Field Name is set by default to T1. Then click the drop down menu for the Consumer Field Name and choose the field name you would like to search. Select Finish
- When you are done making adjustments, Check In , Save and Close, or Publish your page.
- Type in a word to test the search.